
0
Owner's of the Quantum Instruments Camera Flash QFT5d-R gave it a score of 0 out of 5. Here's how the scores stacked up:
5
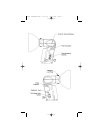
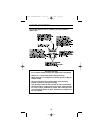
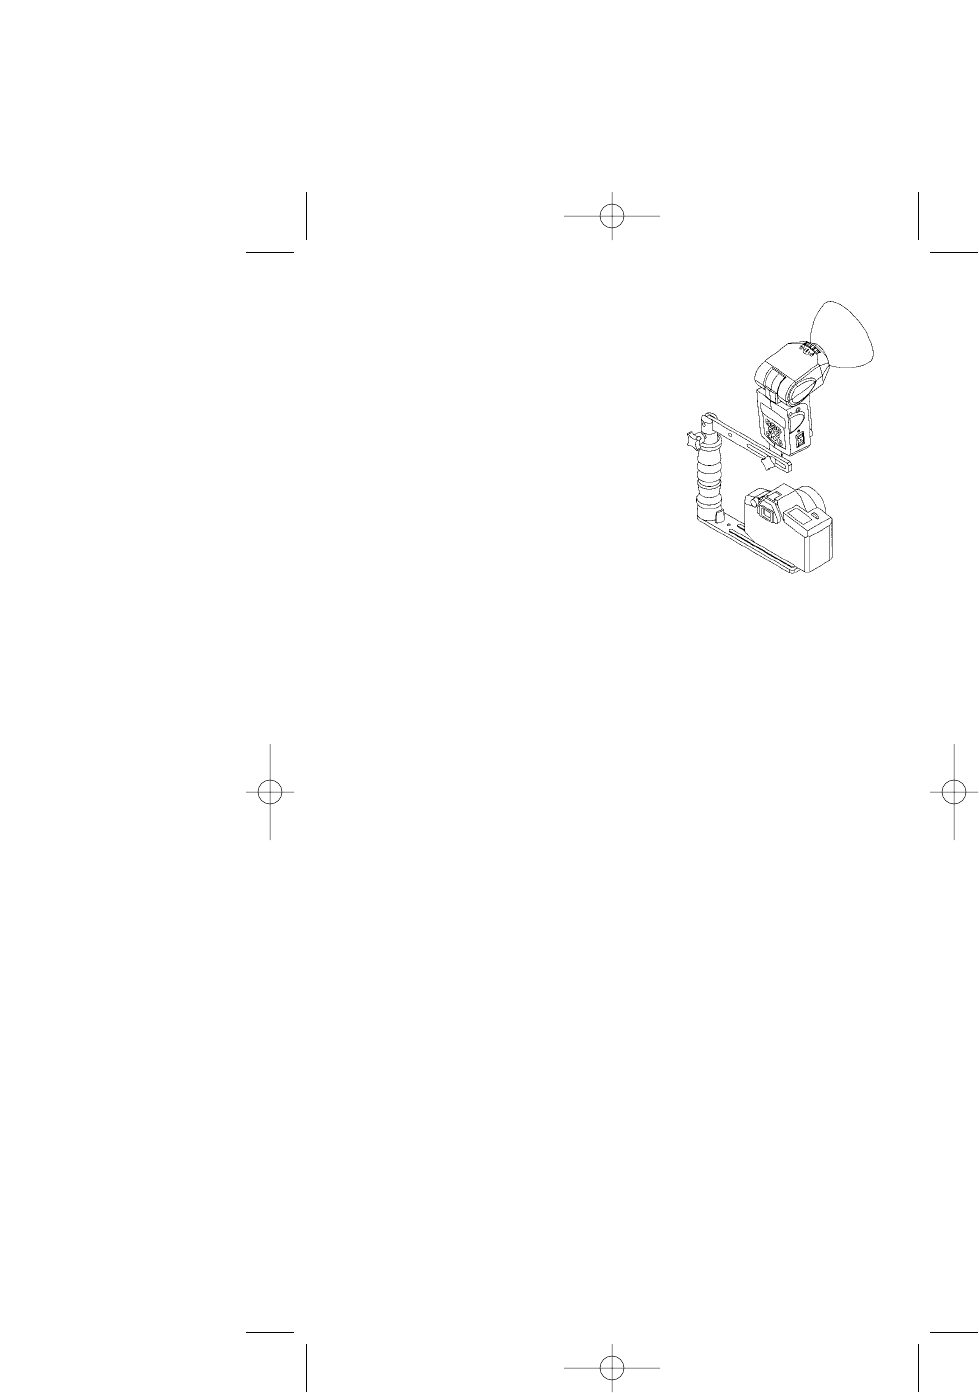
5.4 Bracket Mounting
Qflash mounts with a 1/4-20 standard tripod thread to brack-
ets, light stands, and tripods. Many brackets are made
especially for Qflash by popular bracket manufacturers.
Quantum has two optional brackets, models
QF70US and QF70E. The instructions below
describe mounting to both of these brackets
and to other manufacturers brackets, light
stands, and tripods.
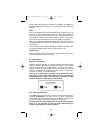
Two types of 1/4-20 fasteners screw/knob and
a friction pad are supplied with Qflash. Place
the friction pad between Qflash and the bracket,
insert the knob/screw and tighten. (If the mounting
surface has a pad, the friction pad is not necessary).
Note: Brackets vary in thickness - always make sure that
the mounting knob/screw screws into Qflash at least two complete turns.
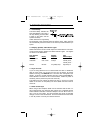
5.5 Connecting Qflash to a Camera
There are two ways to connect a Qflash to a camera- wired and wireless.
For wired connection use either of these methods:
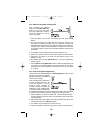
• Connect a household two-prong sync cord (supplied) to the sync
connector of Qflash.
• Connect a QF series TTL adapter to the camera hot shoe.
• Connect a D, Dw, or Dw-R series QTTL adapter to the camera hot shoe.
• Connect a QF53 Hot Shoe sync to the camera.
For wireless connection
• Use the FreeXWire system. See Section 14 - Wireless Qflash Operation
Consult your dealer or www.qtm.com for the latest TTL and QTTL
adapter models.
Note: When using a household type (two-prong) sync cord, if you have
difficulty getting the flash to fire, Remove the two-prong plug from the
Qflash and reinsert it in the opposite direction. This changes the polarity
of the Qflash to match the polarity of the camera.
5.6 Powering Qflash
Before turning on any power to Qflash always make all electrical
connections first, both to the camera and to the power pack. Qflash
“T” models are powered by any Quantum Turbo Battery including Turbo
2x2, Turbo Compact, Turbo Z, and Turbo SC. Quantum “X” models are
powered by the Quantum Qpaq system.
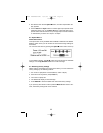
Plug the Qflash power cable into the output connection of the appropriate
power pack. Turn on Turbo or Qpaq power. Normally Qflash will be pow-
ered up and ready to run.
If a “Check Turbo” or “Check Power” message appears on the Qflash
display, turn off the Turbo or Qpaq, wait one second, and turn it on again.
If the message appears again, the power pack needs recharging. If a
“Reset Flash?” message appears in the Qflash display press any button,
except the Mode I button, to resume operation.
QFT5D INSTRUCTIONS 10/5/06 10:27 AM Page 9


Find Your Products By Category
Please Login
