

0
Owner's of the Leica Digital Camera 18489 gave it a score of 0 out of 5. Here's how the scores stacked up:


Taking pictures
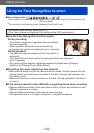
Using the Face Recognition function
- 124 -
Registering face pictures
Up to 6 person’s face pictures can be registered along with such information as name and
date of birth.
You can facilitate Face Recognition by the way you register faces: for example, register
multiple face pictures of the same person (up to 3 pictures in one registration).
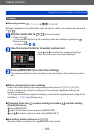
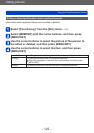
Select [Face Recog.] from the [Rec] menu (→52)
Select [MEMORY] with the cursor buttons, and then press
[MENU/SET]
Select [New] with the cursor buttons, and then press
[MENU/SET]
• If 6 persons are already registered, first delete a registered person. (→125)
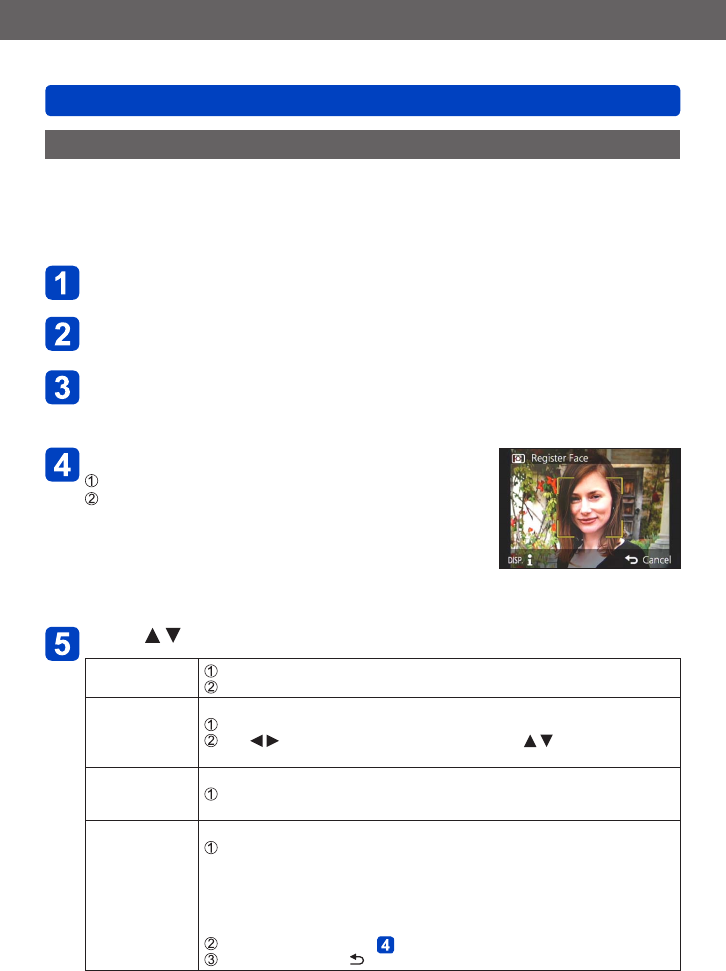
Take the face picture
Align the face with the guide and shoot
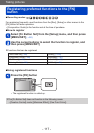
Select [Yes] with the cursor buttons, and then press
[MENU/SET]
• If re-recording, select [No]
• Faces of subjects other than persons (e.g. animals)
cannot be registered.
• When the [DISP] button is pressed, an explanation is
displayed.
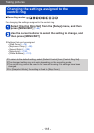
Press to select the item for editing, and then [MENU/SET]
[Name]
Select [SET] with the cursor buttons, and then press [MENU/SET]
Enter the name (See “Entering Text”: (→65))
[Age] Set the birth date.
Select [SET] with the cursor buttons, and then press [MENU/SET]
Use to select year, month and day, set with , and press
[MENU/SET]
[Focus Icon] Change the icon that is displayed when the person is in focus.
Select the focus icon with the cursor buttons, and then press
[MENU/SET]
[Add Images] Up to 3 face pictures of the person can be registered.
Use the cursor buttons to select [Add Images], and then press
[MENU/SET]
• When a registered face picture is selected with the cursor buttons, a
screen to confirm deletion is displayed. Select [Yes] to delete the face
picture
(If only one picture is registered, it cannot be deleted.)
Record the picture (Step above)
Press the [Q MENU/ ] button


Find Your Products By Category
Please Login
